DIY projects from Your Home and Garden
Whether it’s a playhouse, she shed or teenager’s sleepout, a stencil-painted floor will elevate it from meh to wow.
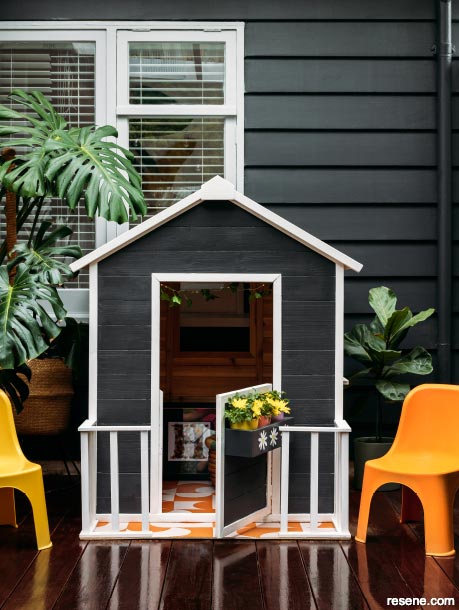
I got my daughter a playhouse for her birthday. It was an off-the-shelf version I wanted to customise with a striking painted exterior, cute flower box and knock-out stencilled floor. You could do the same with a sleepout, man cave or she shed. Paint stencilling is also a fantastic way to up the ante in your kitchen or another room in your home.
For the stencilled floor:
For the exterior:
Paint the outside of the playhouse with Resene Wood Primer and Resene Lumbersider Low Sheen paint. I used the colour Resene Foundry. For a higher sheen you could use Resene Sonyx 101 semi-gloss. Let dry and repeat. If using a darker colour, use Resene CoolColour to keep the playhouse cooler.
Paint the trims and windows using your chosen colour. I used Resene Sonyx 101 waterborne semi-gloss exterior paint in Resene White. Try painter’s tape around the border to ensure a crisp finish.
For the stencilled floor, choose your desired pattern. You can look up patterns on the internet and print them off or draw your own. Transfer the pattern onto the plastic sheet and cut it out.

Supplies used
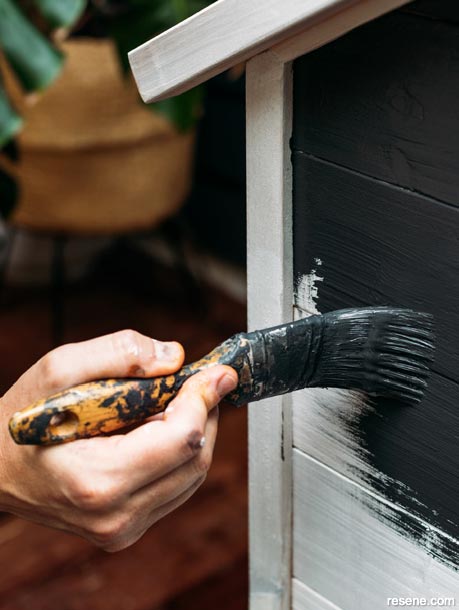
Photo (1)
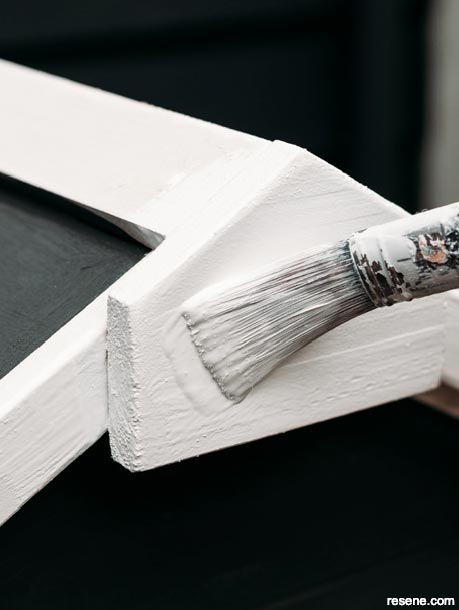
Photo (2)
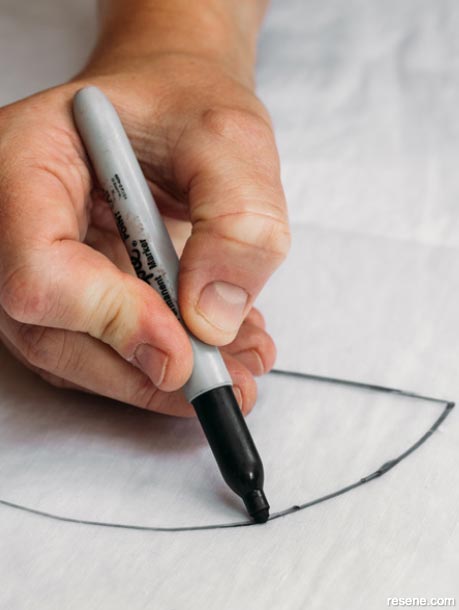
Photo (3)
Prime the floor with the appropriate primer. Resene Quick Dry waterborne primer undercoat is ideal for timber floors. Stencilling is also a great way to refresh dated tiles, but this will require the correct primer. I used Resene Walk-on flooring and paving paint in Resene Blanched Pink as my base colour and applied it with a paint roller. Allow to fully dry.
Paint your stencil pattern over the top by placing the stencil on the floor and holding it down firmly, or use painter’s tape to hold it in place. I used Resene Lumbersider Low Sheen waterborne paint in Resene Clockwork Orange, but you should talk to your Resene ColorShop expert about the paint appropriate to your requirements. Roll the paint in from the edges inward. Avoid rolling out towards the edges of the stencil as you will push paint out under the stencil. Lift the stencil straight up, reposition and repeat the previous step. Use a dry cloth to wipe the back of the stencil clean each time you move it to avoid smudging the paint.
Allow your pattern to fully dry and finish your floor with Resene Concrete Wax waterborne satin glaze. I used a soft bristle brush, but for larger areas I recommend using a wool dust mop.
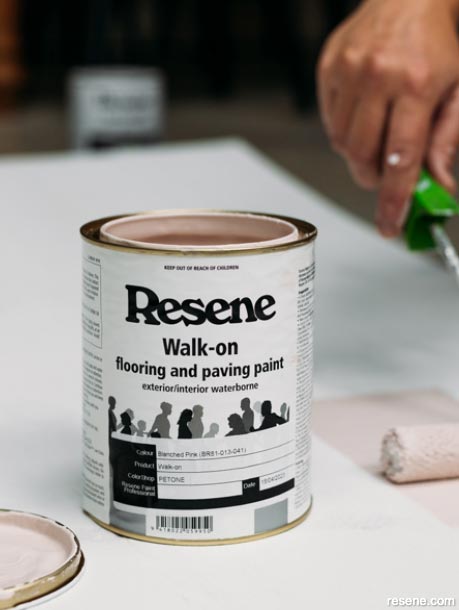
Photo (4)

Photo (5)

Photo (6)
More Resene colours to try


Project: Nikki Kettle. Photography: Anna Briggs. August 2023.
▸ Download a PDF of this article
Projects from Your Home and Garden
Our resident DIY expert, Nikki Kettle, shares the latest tips and DIY projects.
![]() Get inspired ! Subscribe
Get inspired ! Subscribe ![]() Get saving ! Apply for a DIY card
Get saving ! Apply for a DIY card
![]()
Can't find what you're looking for? Ask us!
Company profile | Terms | Privacy policy | Quality and environmental policy | Health and safety policy
Colours shown on this website are a representation only. Please refer to the actual paint or product sample. Resene colour charts, testpots and samples are available for ordering online. See measurements/conversions for more details on how electronic colour values are achieved.
What's new | Specifiers | Painters | DIYers | Artists | Kids | Sitemap | Home | TOP ⇧